
A custom canopy tent is more than weather protection—it’s a roaming billboard that can rack up thousands of brand impressions whenever you set it up. Yet getting one that looks perfect and holds up for years means understanding print technology, fabric science, and supplier quality. This guide breaks down every decision so you can order with confidence, from color-critical dye-sublimation to maintenance hacks that keep graphics crisp.
Looking for broader brand-impact tactics such as unique valance graphics, detachable walls, and add-on accessories? See our in-depth post How to Personalize Your Canopy Tent for Maximum Brand Impact on Deluxe Canopy → https://www.deluxecanopy.com/en-international/blogs/blog/how-to-personalize-your-canopy-tent-for-maximum-brand-impact
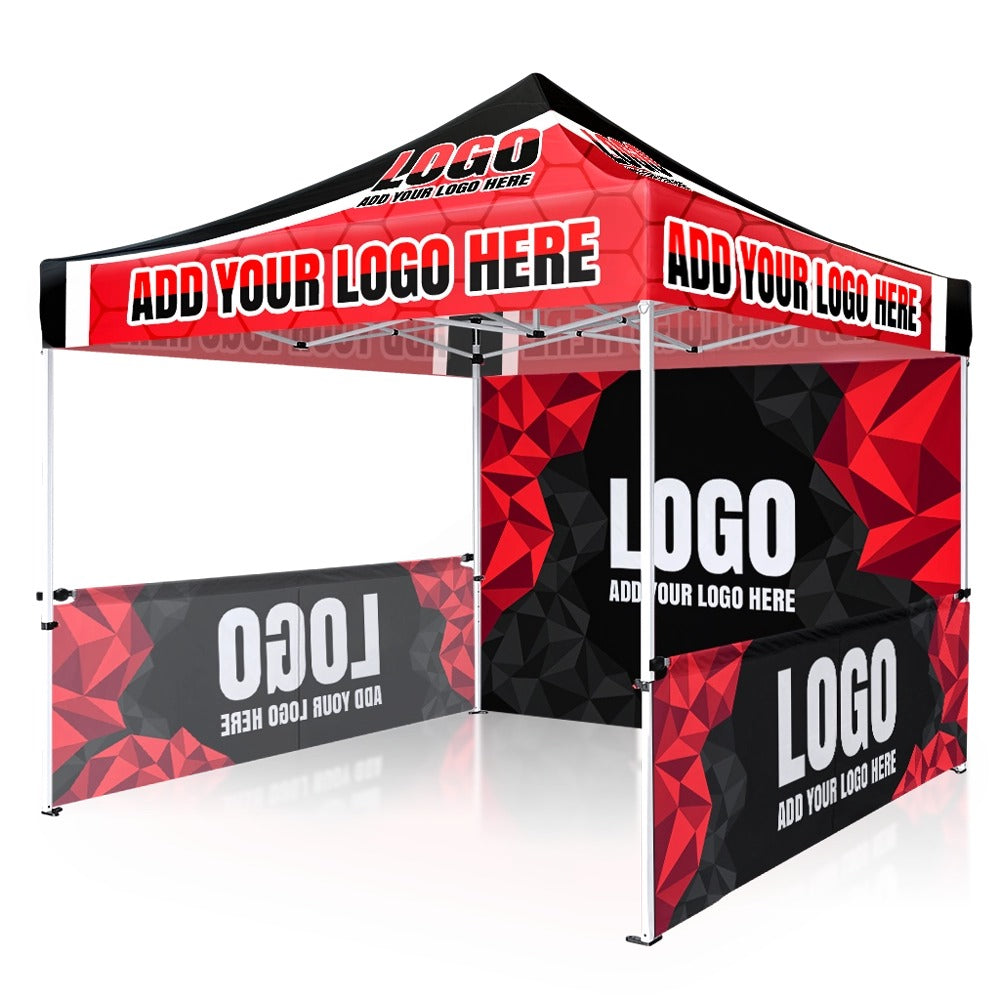
1 · Custom Canopy Tent Basics
What counts as a “custom” canopy?
Any shelter where frame size, fabric color, or print graphics (logos, slogans, full-bleed imagery) deviate from the stock manufacturer offering. Typical pop-up footprints include 5 × 5 ft, 10 × 10 ft, and 10 × 20 ft. In North America, the 10 × 10 remains the trade-show sweet spot because most expo floor contracts price space in 100 ft² units.
Core anatomy
| Component | Function | Quick Tip |
|---|---|---|
| Aluminum or steel frame | Structural stability | Aluminum costs more but resists rust—worth it if you tour humid climates. |
| Poly or vinyl canopy top | Printed surface + water runoff | 600 D polyester with PU coating balances print vibrancy and rain-proofing. |
| Valances & sidewalls | Prime logo zones | Sidewalls are optional; budget at least one printed back wall to hide gear. |
2 · Printing Technologies Compared
| Method | Color Range | Durability | Best For |
|---|---|---|---|
| Silk-screen | 1–6 spot colors | 3–5 yr with care | Simple logos, limited palettes |
| Heat-transfer vinyl (HTV) | Full CMYK but on patch areas | 2–3 yr; prone to edge lift | Small logos or rush jobs |
| Dye-sublimation (recommended) | Up to 98 % of Pantone® library | 5–7 yr+; ink bonds inside fibers | Photo-realistic art, gradients |
Why dye-sublimation wins: It diffuses gaseous dye into polyester fibers, so prints won’t crack or peel when you fold the roof into its roller bag. Colorfastness typically rates at 4 - 5 on the ISO 105 scale (good to excellent).
3 · Fabric Choices & UV Performance
| Fabric Weight | Tear Strength | UV Rating | Typical Use Case |
|---|---|---|---|
| 420 D poly | Medium | 30+ UPF | Weekend farmers’ markets |
| 600 D poly | High | 50+ UPF | Trade shows, corporate tours |
| 900 D poly / PVC | Very high | 50+ UPF | Long-term semi-permanent |
Pro tip: Ask the supplier for a Martindale rub test score; ≥ 40 000 cycles means the coating won’t abrade during frequent set-up/pack-down.
4 · Design & Artwork Essentials
-
File format – Supply vector (AI, PDF, EPS). Embed linked images at ≥ 150 ppi at print size.
-
Bleed & safe area – Leave a 5 cm bleed on all roof edges; keep text 4 cm away from seams.
-
Pantone call-outs – Note any corporate spot colors (e.g., PMS 186 C red) in a separate layer or legend.
-
Contrast ratio – Use WCAG formula; aim for ≥ 4.5:1 contrast between foreground logo and canopy base to ensure readability under shade and direct sun.
5 · Step-by-Step Ordering Workflow
| Stage | Your Action | Timeframe |
|---|---|---|
| Brief & quote | Choose frame size, fabric weight, printing method | Day 0 |
| 3-D mock-up | Supplier renders tent with your artwork; review all angles | Day 1–2 |
| Hard-proof approval | Optional fabric strike-off couriered; approve colors | Day 4–6 |
| Production | Printing, cutting, stitching | Day 7–14 |
| Quality check & ship | Inspect seams, ink density, Velcro; dispatch | Day 15–17 |
Many reputable vendors hit a 10-to-16-business-day window from artwork approval to delivery—faster with air freight.
6 · Supplier-Vetting Checklist
-
ISO 9001 or equivalent production certificate
-
In-house dye-sub capability (outsourced printing ≈ longer lead times)
-
SGS or Bureau Veritas fabric test reports
-
Full replacement warranty for print defects (fuzziness, banding)
-
References from at least three clients in your industry niche
7 · Real-World Example: Fitness Brand Tour
PulseFit, a wearable-tech company, ordered a 600 D dye-sub 10 × 10 with fluorescent-orange roof and white logo. After a six-month U.S. road-show:
-
Tent deployed at 23 events
-
Cost per impression: ≈ $0.007 (based on 180 000 footfall count)
-
Lead scans: Avg. 4.1 % of passers-by via QR code on sidewall
Their marketing director reports the print still looks “box-fresh” despite eight rain days and four power-washed cleans.
8 · Maintenance for Print Longevity
-
Air-dry before bagging to avoid mildew that dulls ink.
-
Use pH-neutral soap; bleach erodes top-coat UV inhibitors.
-
UV-proof storage sleeve if the roller bag sits in open trailers.
-
Seasonal inspection – Tighten Velcro, replace worn bungee cords to keep fabric taut (prevents micro-creases in ink layer).
9 · ROI Metrics to Track
| KPI | Tracking Tool | Benchmarks |
|---|---|---|
| Booth foot-traffic | Clicker / Count-Things-App | +25 % vs. plain shelter |
| Lead captures | QR or NFC landing pages | 3–6 % of visitors |
| Social mentions | Branded hashtag | 80–120 mentions per 1 000 attendees |
| Incremental sales | POS tags with event code | Recover shelter cost within first two quarters |
Attach a UTM parameter to QR codes printed on side-walls—Google Analytics then attributes deals directly to tent-driven scans.
10 · Conclusion & Next Steps
Print quality can make—or break—the impact of your canopy. By choosing dye-sublimation on 600 D polyester, insisting on Pantone-matched proofs, and following the care steps above, you’ll enjoy a vivid shelter that boosts brand authority for years.
Want to explore advanced personalization tricks like detachable branded valances, half-walls, and contrasting trim colors? Dive into How to Personalize Your Canopy Tent for Maximum Brand Impact at Deluxe Canopy (https://www.deluxecanopy.com/en-international/blogs/blog/how-to-personalize-your-canopy-tent-for-maximum-brand-impact) for hands-on design inspiration and ROI examples.